FAMILY FUNDAY

Hi guys, it's me, that girl katie, For me losing my sister too early in life has been a big wake up call on what is really important to me. I have been doing a lot of thinking + soul searching over the last few years. I feel beyond lucky that I am here to see my kids grow up and help guide them. I've heard countless times from older parents "enjoy your kids because before you know it they are off to college." It took losing my sister to really comprehend that advice.

I don't want to look back and have any regrets that I wished I had spent more time with them while I had the chance. And I know that I am not going to be the type of parent who is excited about being empty nested. So, I have decided to use my creative skills to prepare fun activities for us to do once a week. I am calling it, FAMILY FUNDAY!

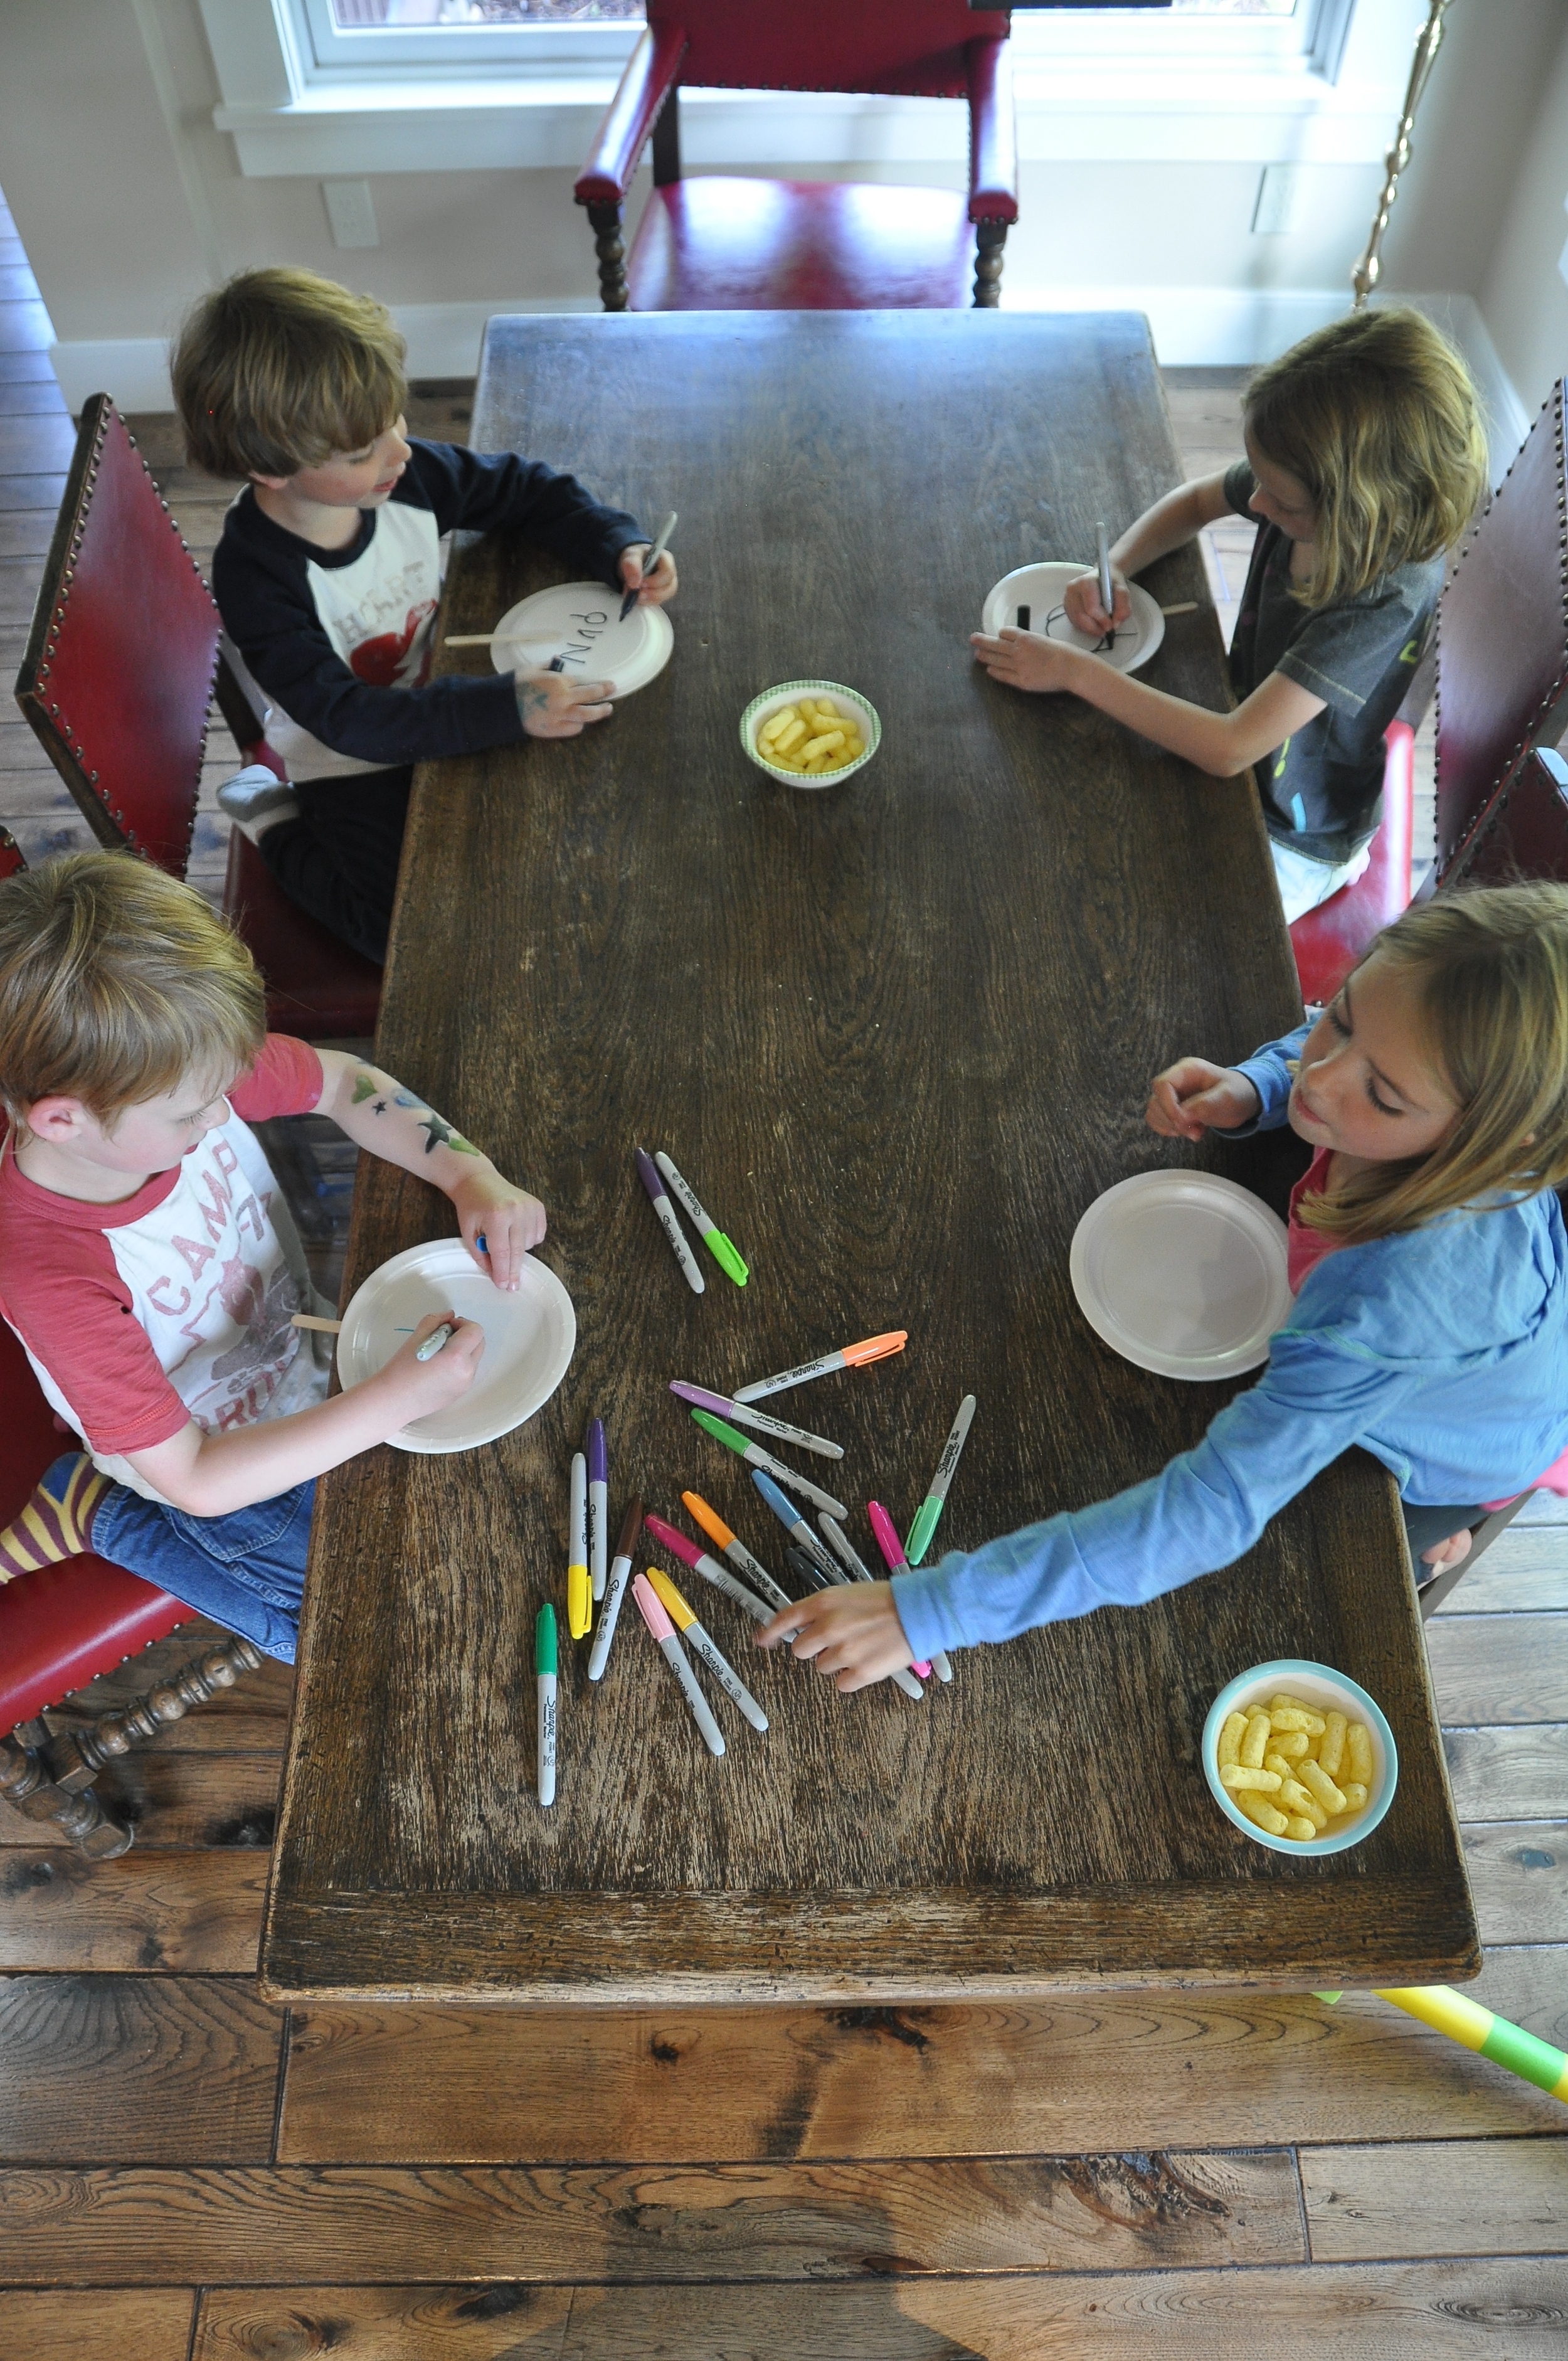
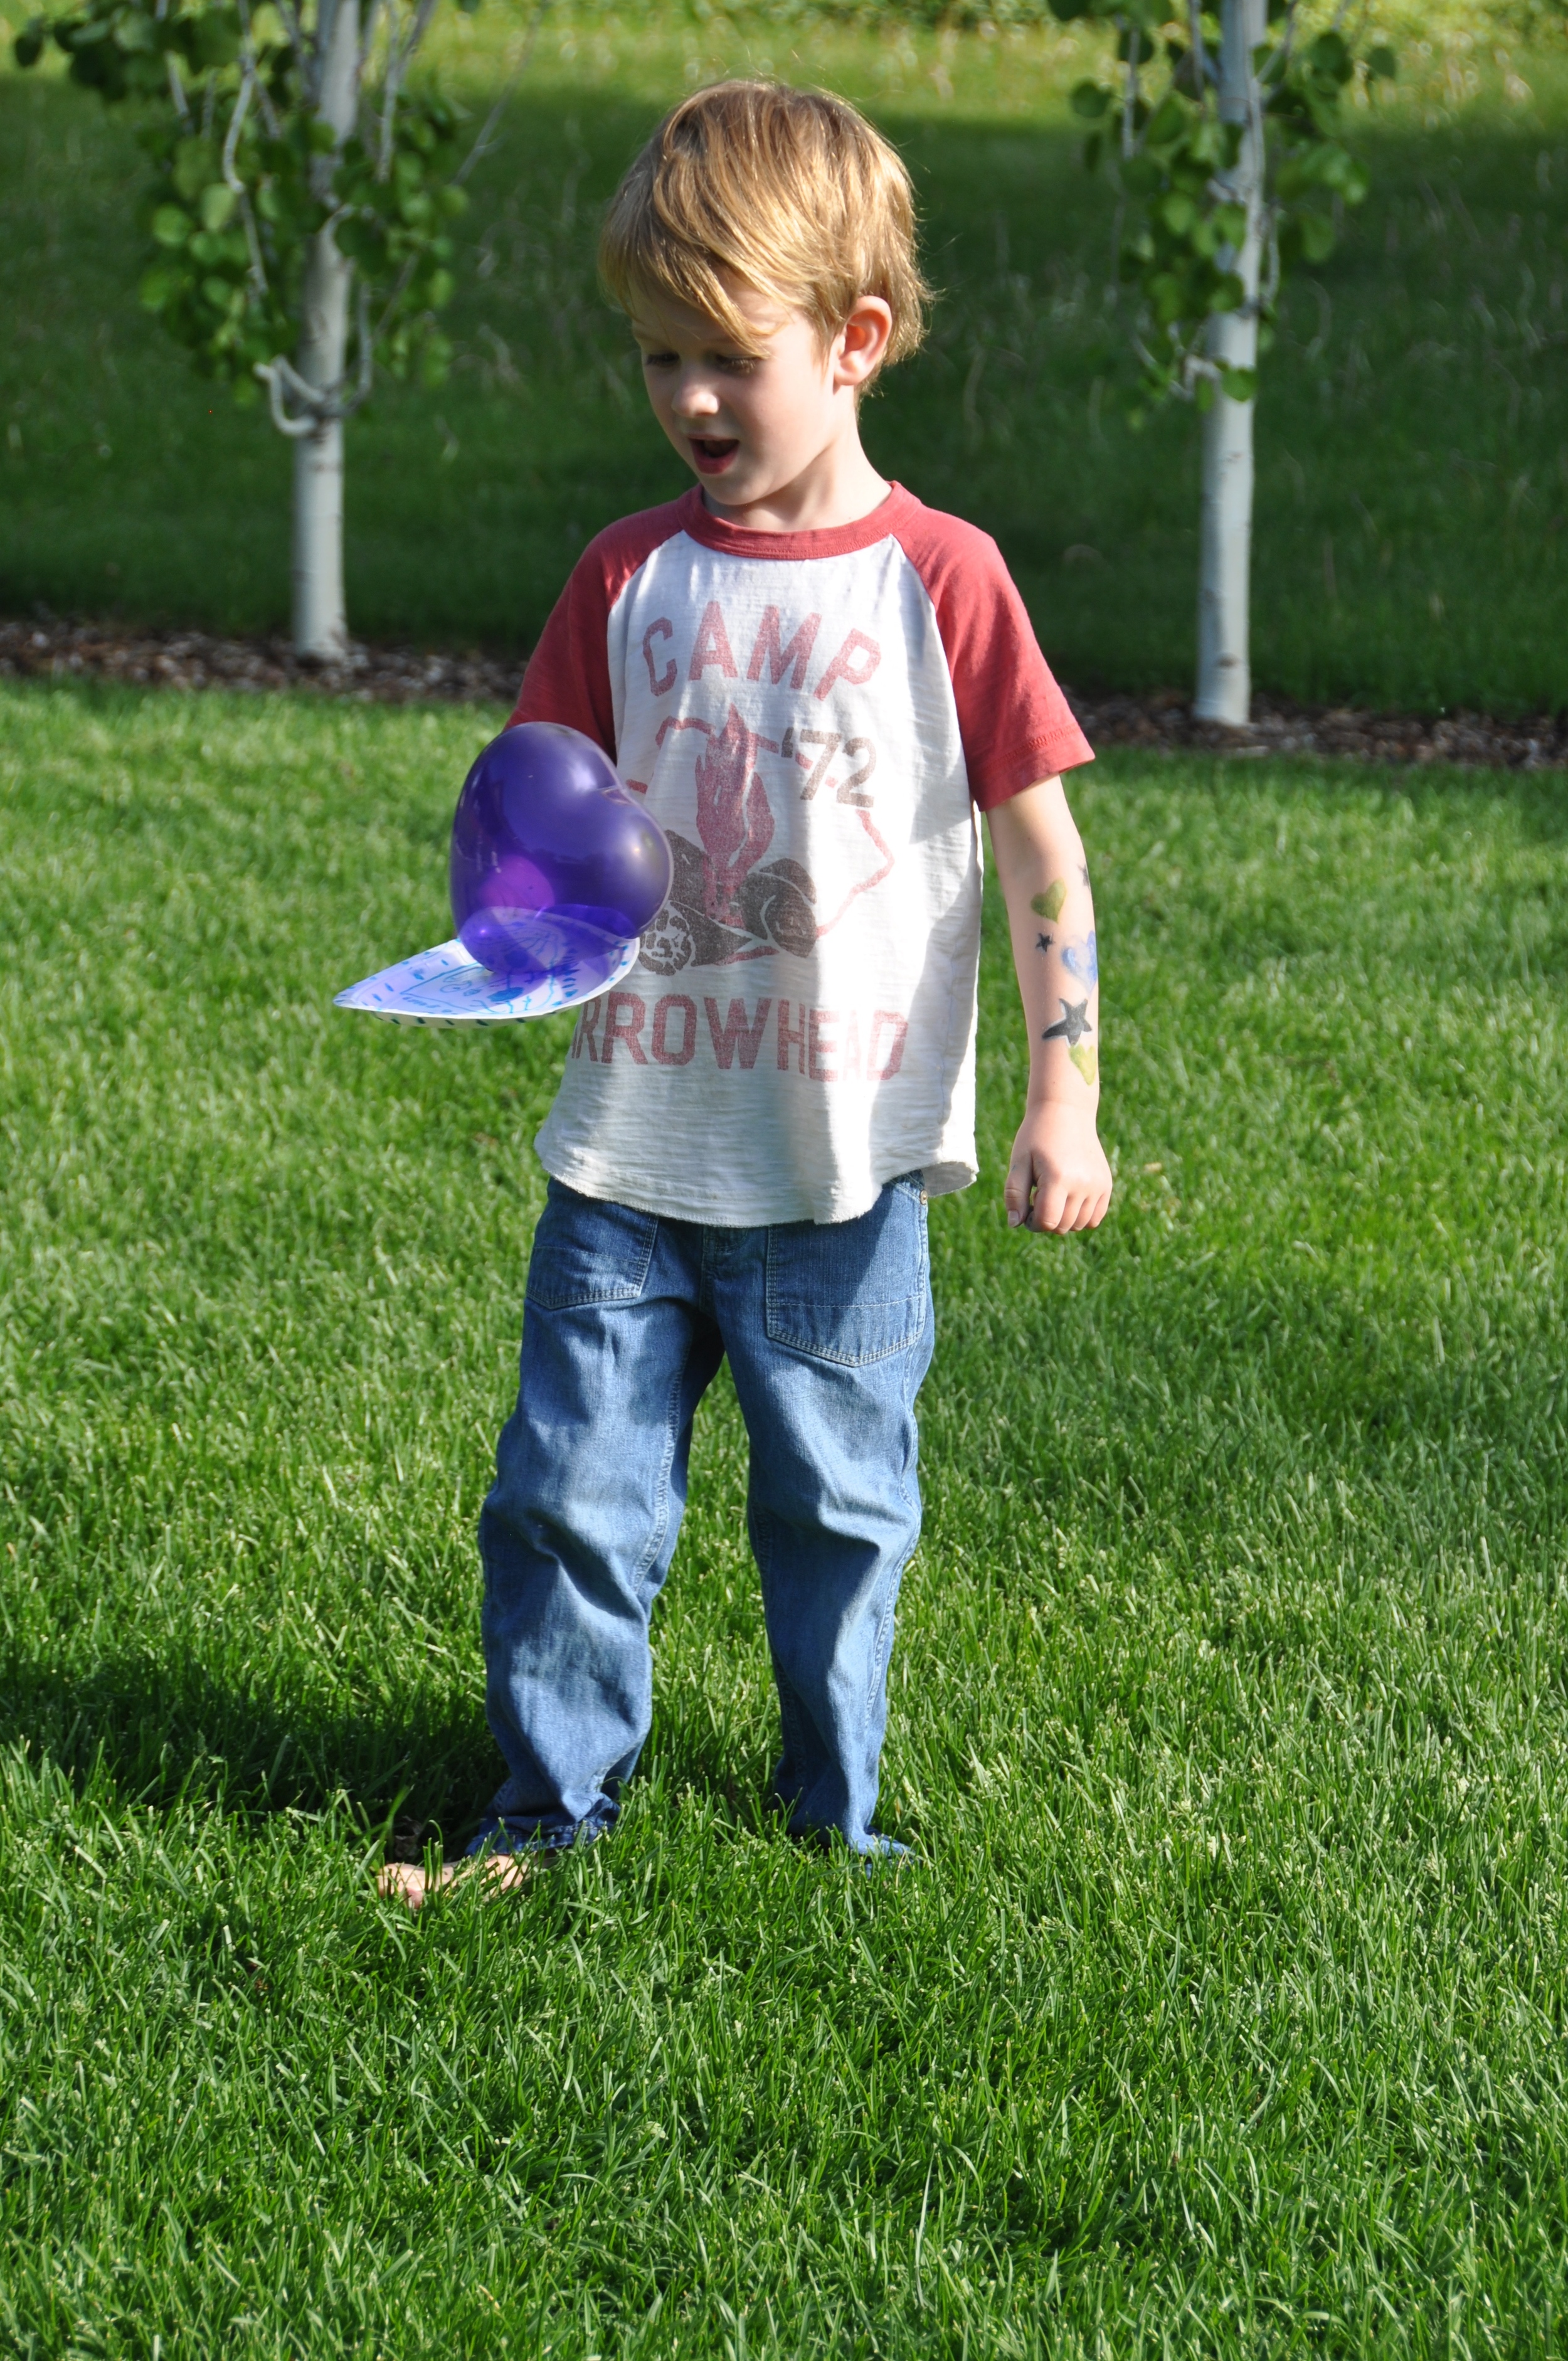
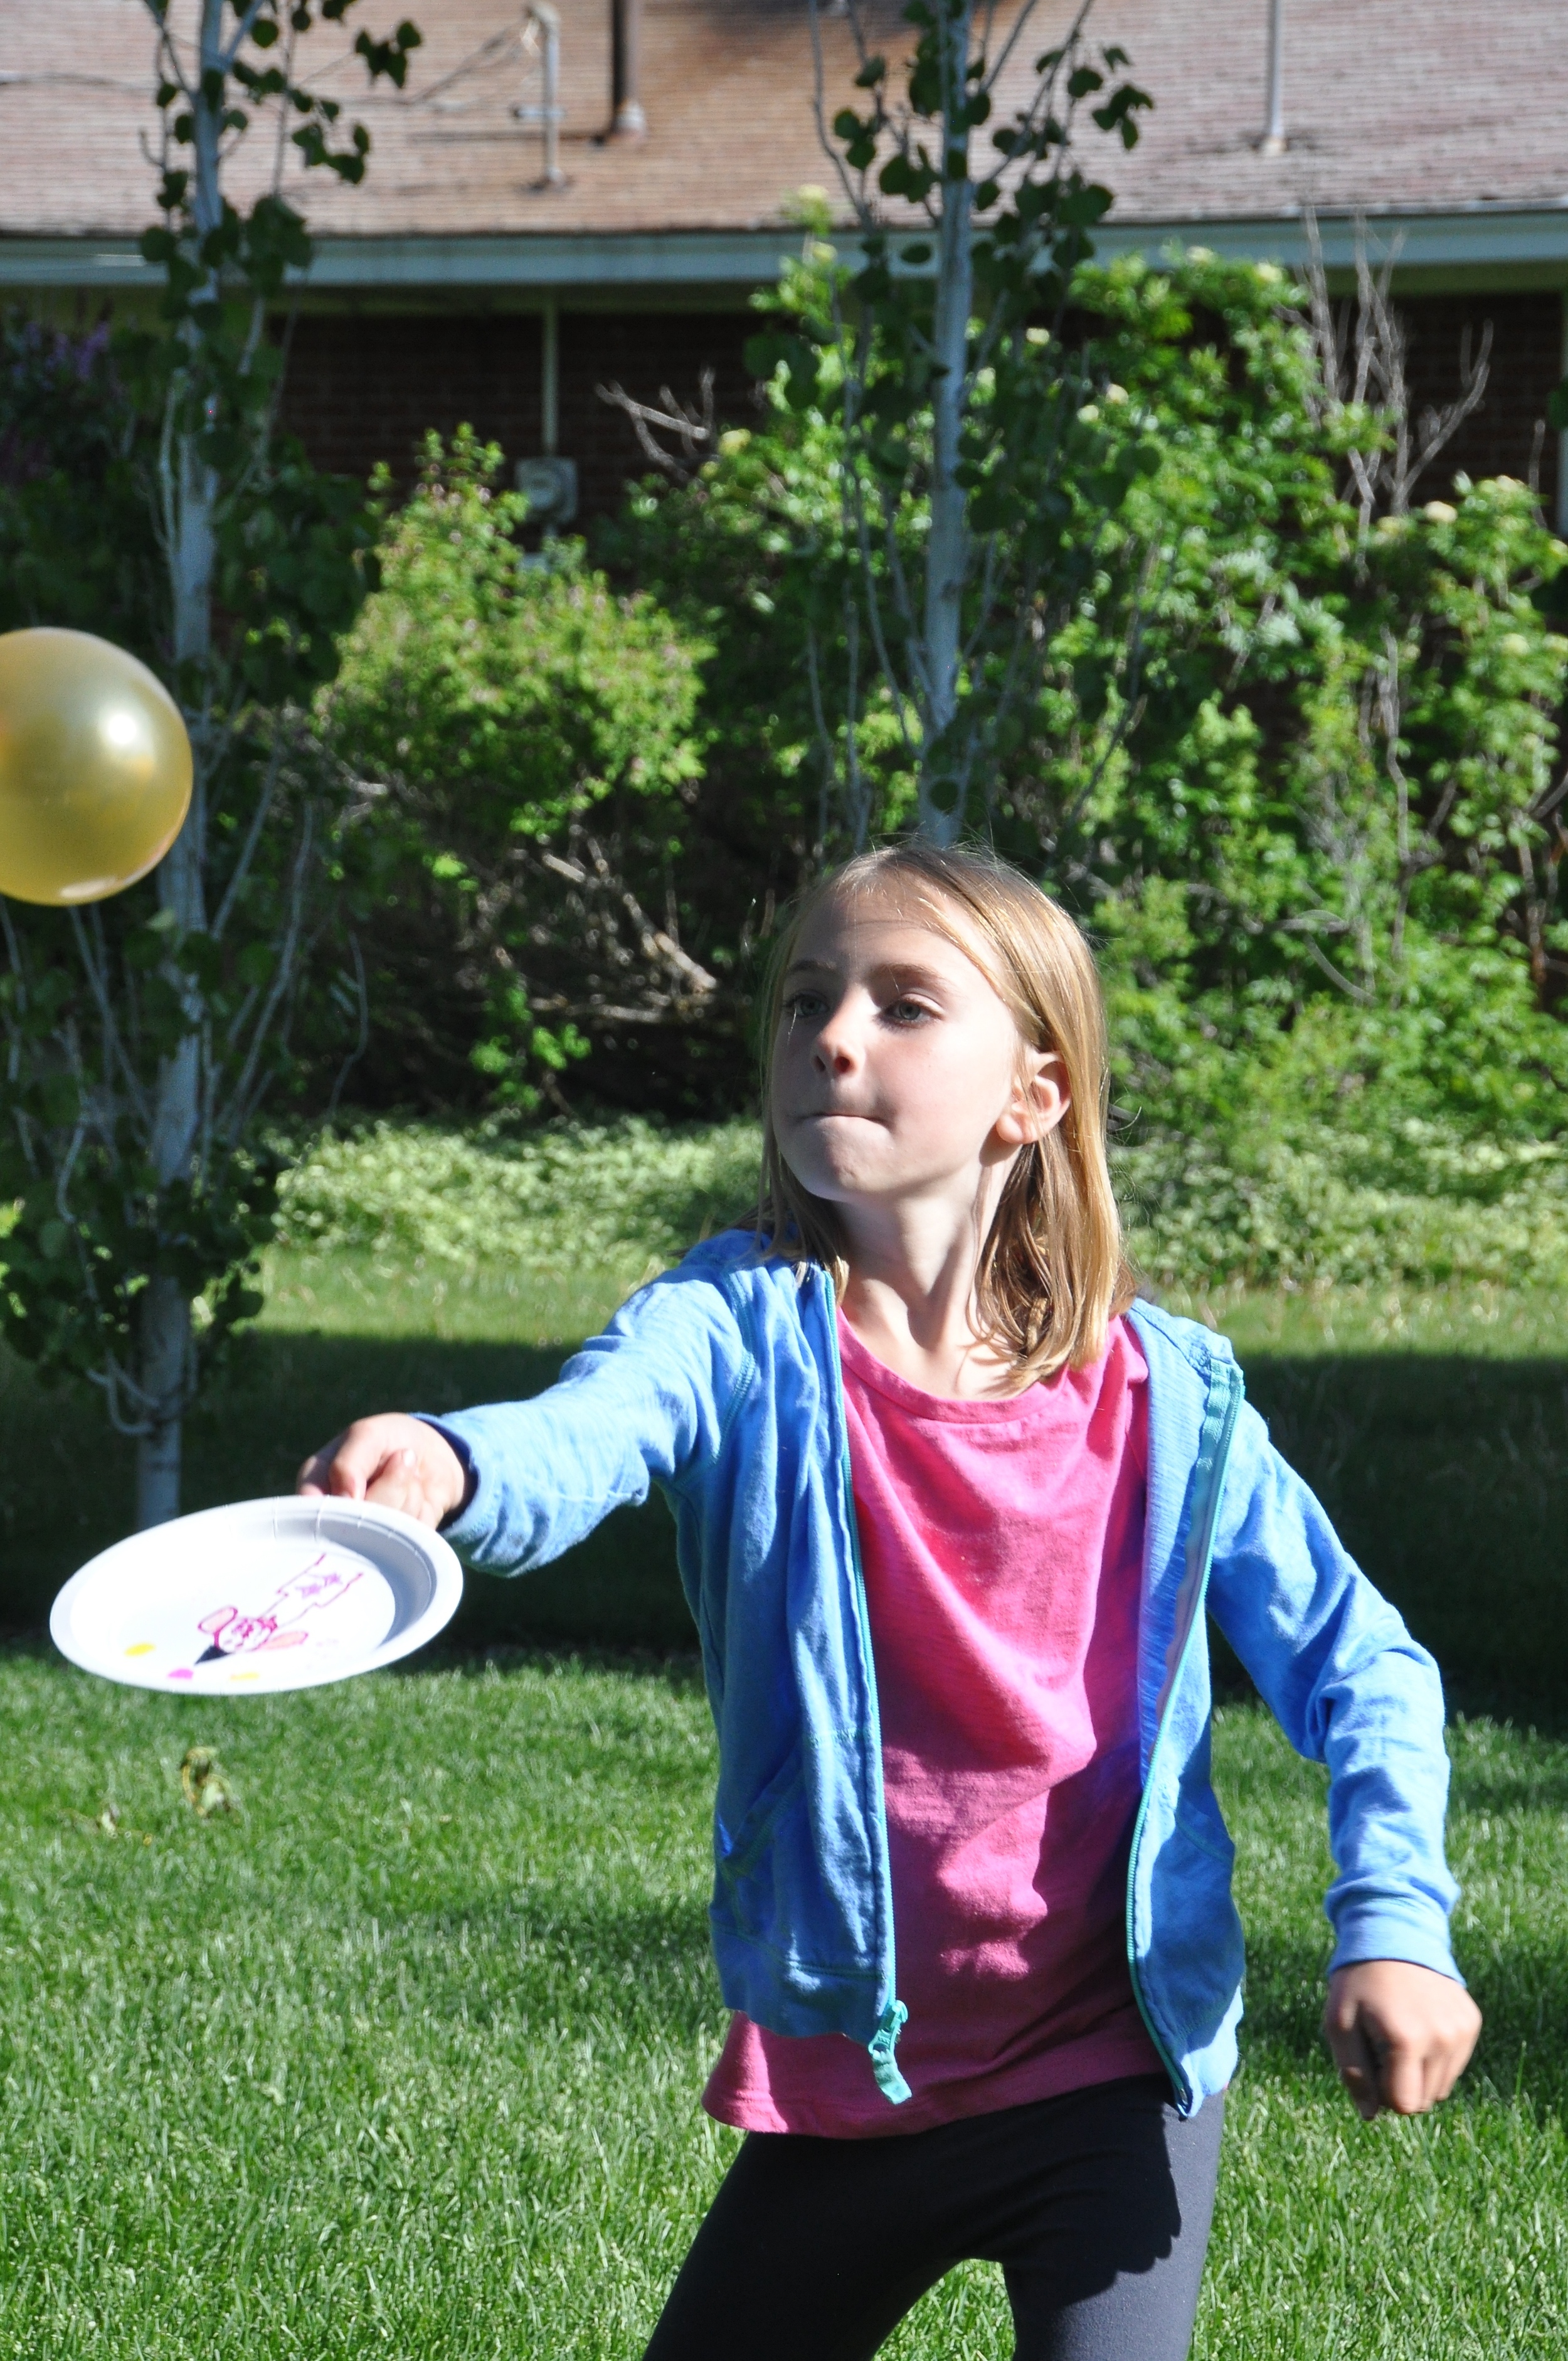
This week we kicked it off with balloon games which was perfect because I had 2 extra players. Since I was the only adult at the time I ended up explaining each individual game + trying to take pictures.

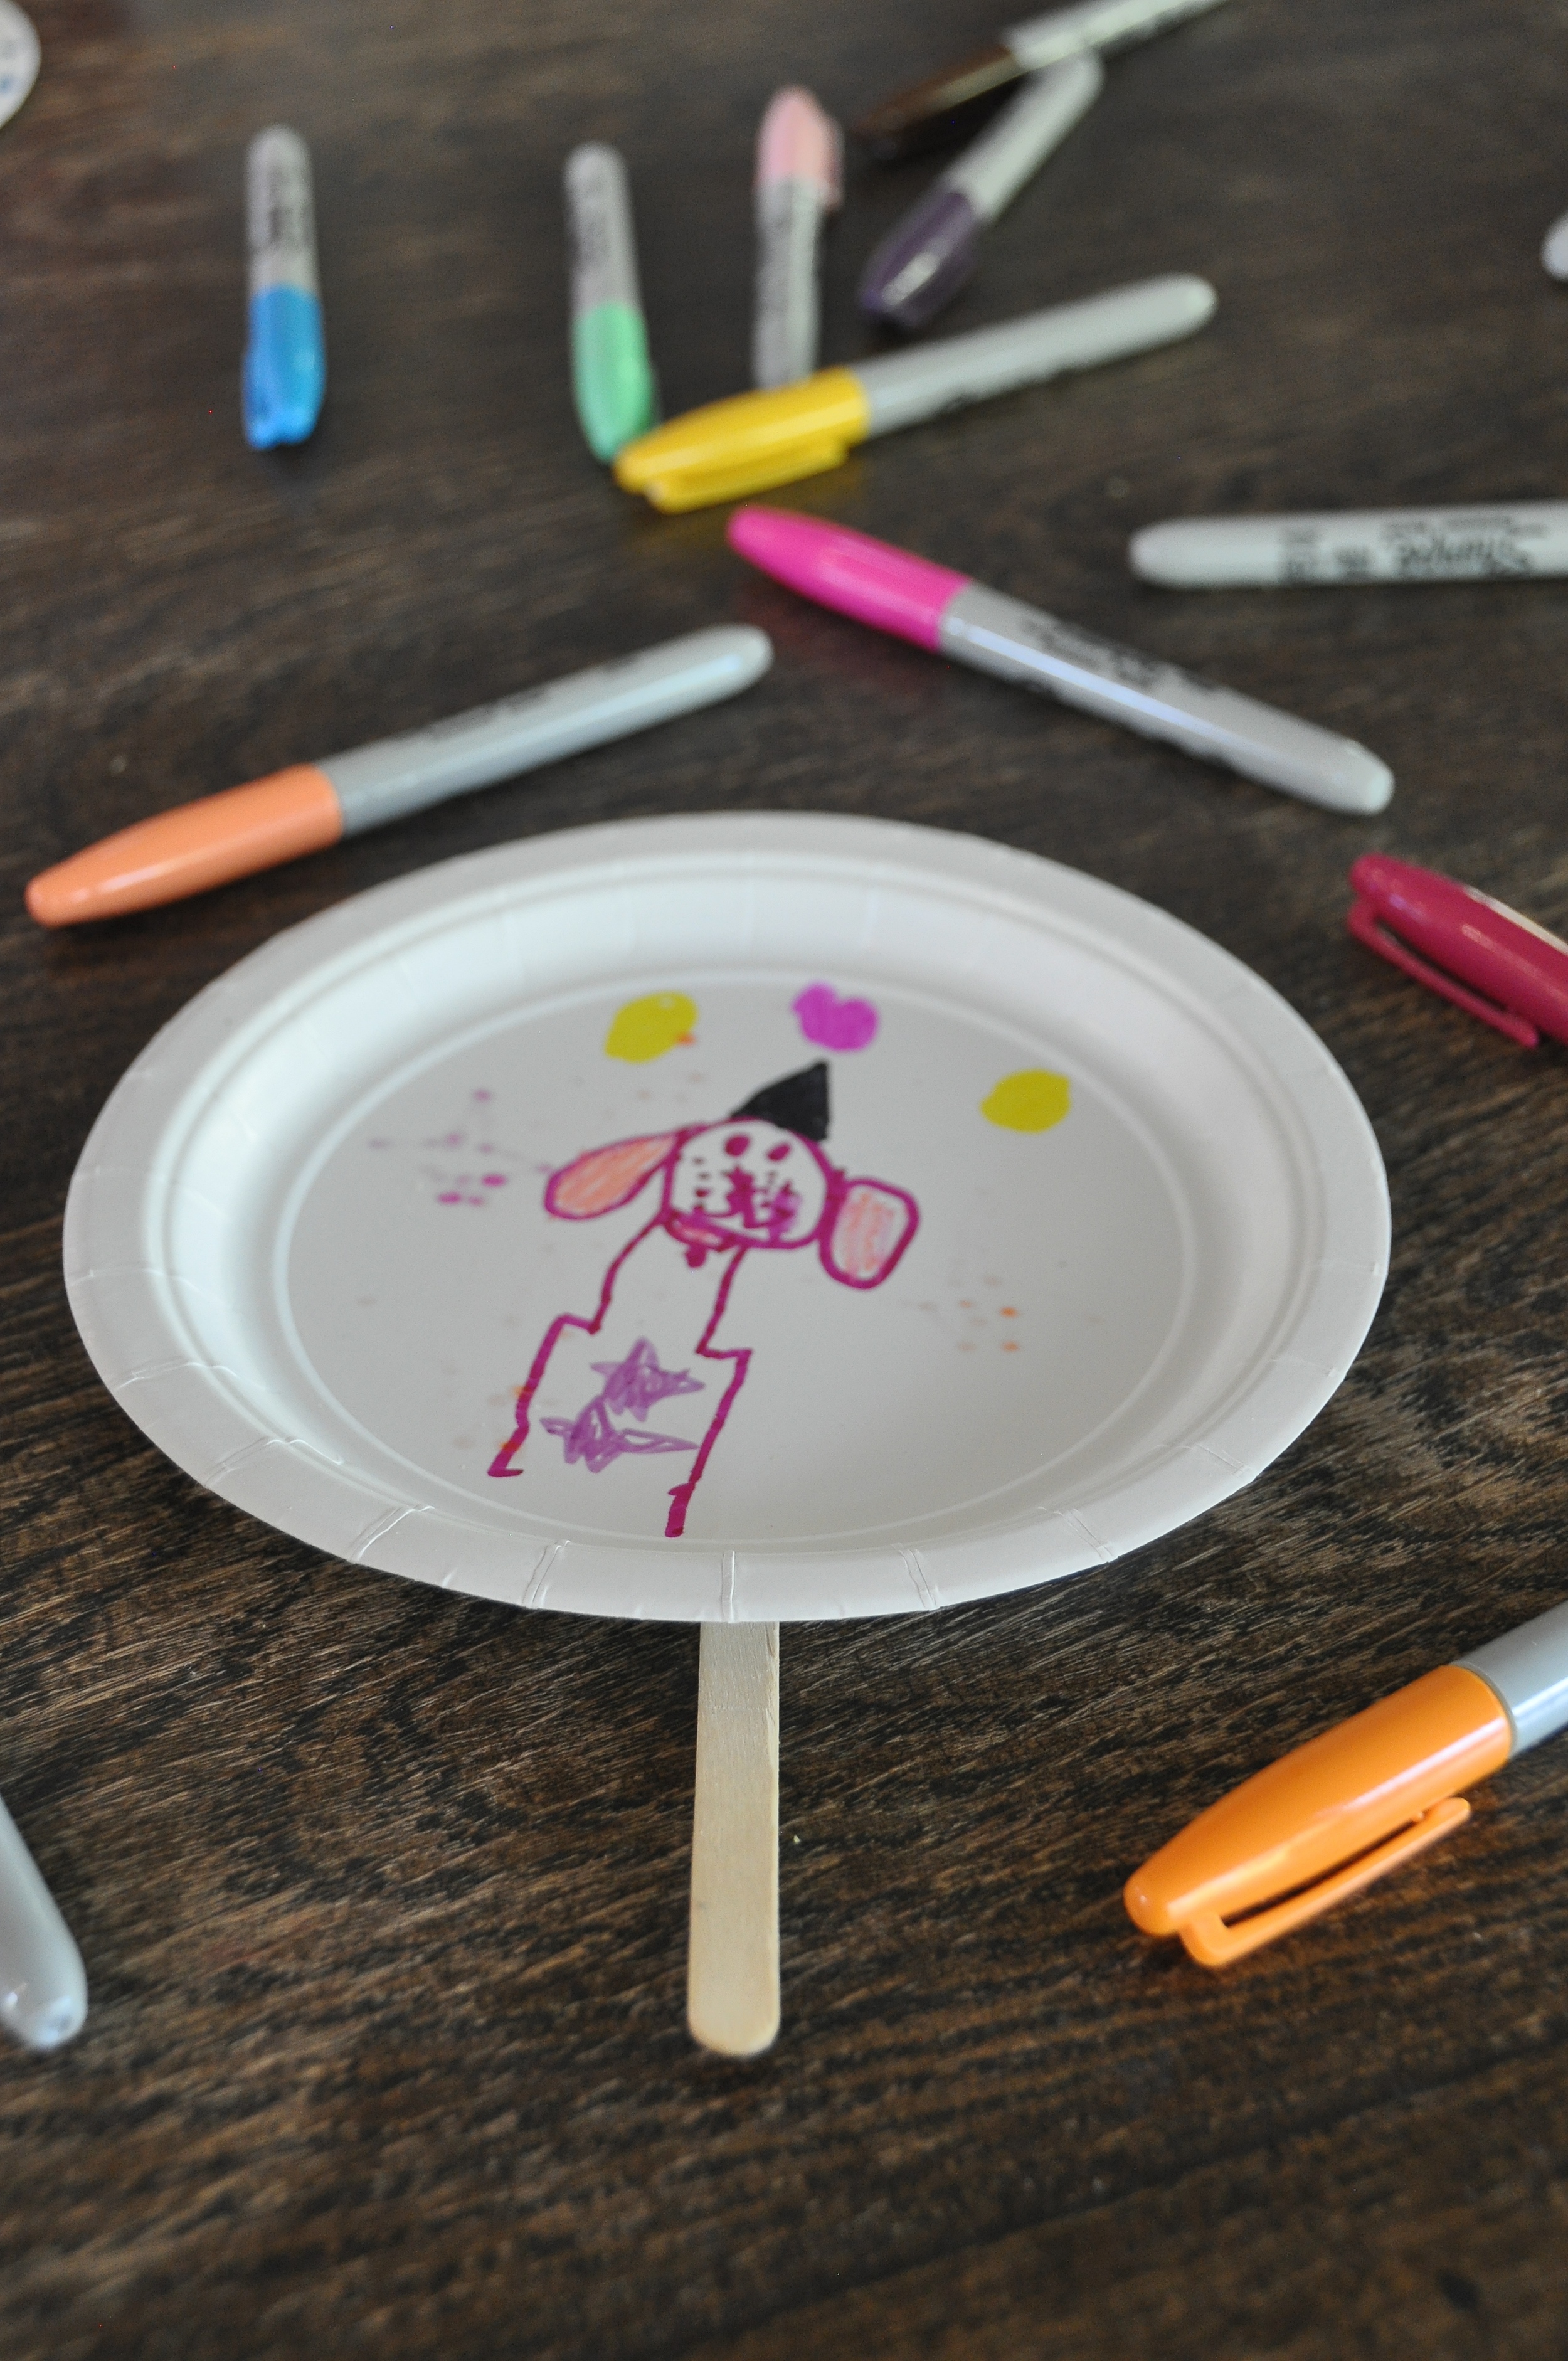
Before we started to play I had them all decorate their paddles (paper plates + popsicle sticks glued together) I have to admit this was the quietest they were the whole evening.

Here are some of the games we played that I discovered from Not Consumed.

1. Balloon Keep-up: don’t let the balloon touch the floor. See how long the family can keep it in the air (hint:station big people closer to little people). 2. Balloon Hockey: We used the paper plate “paddles” for this game, but you can also use kitchen utensils. Players had to try and hit the balloon into their team’s “goal.” I made goals out of laundry baskets and placed them across from each other in the living room. 3. Balloon Tennis: Using the “paddles” bump the balloons back and forth to your partner. I really prefer open ended games since my kids are still little, but you could keep score, giving points to the other team when their opponent’s balloon hits the floor. 4. Balloon Hula: Two players hold up the hula hoop for others. The object of this game is to use the paddle to hit the balloon through a hula hoop. For little guys, I just let them toss it in with their hands. 5. Balloon Waddle: Stand two kids side by side and place the ball between their hips. Now send them across the room, and see if they can get there without dropping the balloon. 6. Balloon Catch: give half of the players a large mixing bowl and half of the players a balloon. Have them toss the balloon to see if they can catch it in the bowl. You can also fold a piece of cardstock paper into a cone shape and catch the balloons in the cone. 7. Balloon Finger Balance: players have to balance their balloon on their finger. Their finger must be in contact with the balloon at all times.

I have been thinking about the idea of FAMILY FUNDAY for few months. Sometimes just making something a priority is the hardest part and I am glad I have taken the step to do so. It takes a little prep + I know the more I keep with it, the easier it will become because we did run into some whining which slowly became a domino effect. Life isn't perfect but worthy of celebrating.

Cheers, that girl katie

BIRTHDAY TREE - 11.26.14

Hi guys, it's me, that girl katie, 7 years ago today marked a big, wonderful, and exciting journey in my life, I become a MOM!

I adore my mom and she taught me everything I know about being a mom. One of the many things she gave me was her time making holiday's, parties and play dates feel so special. As a kid I imagine I took them for granted or wasn't always appreciative but now I hold on tight to those memories. I guess as the saying goes, "the apple doesn't fall far from the tree" because it's very important for me to also give my kids special and meaningful moments but with my added creative twist.

So, I saw the idea of a BIRTHDAY TREE in a magazine a few years ago and have had this DIY on my mind ever since.

Apparently, I am not the only one with this idea.

Image Source:

bebehblogpurelykidseveryday-is-a-holidaymosaicofmoms

I wanted to really personalize the BIRTHDAY TREE I had purchased at etsy with ornaments from each year of my daughters life. Some ornaments I put the party invitation and some are with friends.

I used my Cricut Explore to cut out all the frame shapes + the birthday numbers + the star garland + the balloons. Of course every year she will get a new ornament and I imagine I will also add some other tree decoration too.

My daughter LOVES it and I could see that extra sparkle in her eye of feeling special. It was a great way to celebrate her life while also looking back at how lucky I am to be her MOM.

I am very thankful for today!

PIN THE BEARD ON THE GNOME + CRICUT GIVEAWAY 11.20.14

Hi guys, it's me, that girl katie, Oh, GNOME....the HOLIDAYS are here! Are you ready?

So, this is my final project for the Cricut Design Space Star and I will admit that I have been challenged. I consider myself crafty but I never really knew about the craft world of paper. I just touched my finger into this medium and thanks to the Cricut Explore I can't imagine not having this hip machine to help me along the way. It has for sure opened the window to a lot of fun ideas that I want to produced and my daughter thinks it's the coolest thing to just watch cut.

And this month I learned I have a huge soft spot in my heart for Gnomes. Aren't they so cute?

Of course since I live in ski country I had to give the Gnome skis and poles.

Steps:

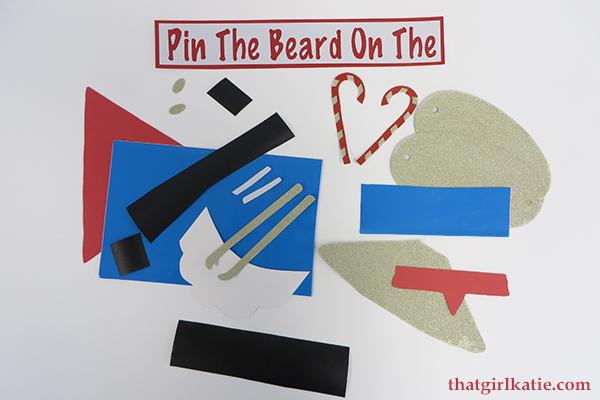
1. Gather supplies 2. Cut out all shapes on the Cricut Explore - Search "Gnome" in the Cricut Design Space 3. Attach all cut outs to paper 4. Glue cotton balls on beard cut out 5. Attach reusable tape taps on back of beard 6. Attach ribbon or elastic on mask cut out 7. Hang 8. Play

TIPS:

- I used the mouth cut out for the eyes too. I just resized it before sending it to the Cricut Explore to cut out.

- For me finding the "search button" on Cricut is confusing. You have to of created a "new project" in the Canvas. In the Canvas there is a button on the left "insert image". Once you press "insert image" a bunch of images pop up and there is also a "search button". When you find what you are looking for insert it into your canvas project and don't forget to always save your project.

Supplies:

- Paper - Vinyl Sticker - Cotton Balls - Ribbon or elastic (for the mask) - Reusable Tape Tabs (for hanging + for the back of the beard) - Spray Glue - Cricut Explore

Here is what my amazing Lucky #13 team produced this month. They sure are a talented group of ladies & I recommend checking them out, following them and sharing them with all your peeps.

1. Andrea- andreas notebook 2. Celina-petit a petit and family 3. Erin & Tricia-suburban bitches 4. Monica & Jess- east coast creative blog 5. Jessica & Sarah- pretty providence 6. M.J.- pars caeli 7. Sadie Jane-simply sadie jane 8. Crystal-sew creative blog 9.Melissa-the sweet escape

Don't you want to get your Cricut Explore on and make these cool designs? Well, here is your chance to win one for my Team, Lucky #13. All you have to do is make your entry below.

a Rafflecopter giveaway

I am slowing getting ready for the Holidays but it never seems like there is enough time to get everything I want accomplished. Oh Gnome!

Happy Holidays!

DIY CHORE BOARD 10.9.14

Hey guys, it’s me, that girl katie, I recently became a little obsessed with the idea of a chore board for my kids and the more I talked about it the more excited they got about it.

So, I did some research and really liked this chore board. But if I was going to make one I wanted to make sure it was something that would work in my family. So, I needed to tweak Sarah’s amazing design a little to fit my family’s needs.

My Chore Board requirements: 1. Conveniently located – it’s in our kitchen 2. A reward system that was visual and not about money 3. Easy to update and make changes

Chore Board Steps:

1. Buy Supplies 2. Attach molding – Glue + Nail 3. Chalk & Sand Corners 4. Prime – Frame + White Boards 5. Paint Frame 6. Varnish Frame 7. Paint White Boards 8. Print Font + Chore Graph 9. Add Font + Chore Graph 10. Hammer Boards In Frame 11. Add hooks + Paint Cans 12. Add Stones

Supplies:

- Plywood - Frame Molding - Wood Glue - 3 boards - Primer - Paint (Regular Paint + Dry Erase Paint) - Clear Semi Gloss Varnish - Small nails (for molding) - Finishing Nails (for white boards) - Hanging Material - 6 Mini Paint Containers - Vinyl Font & Chore Graph - Stones - Popsicles Sticks + Sharpie Pen (for extra chores + rewards) - Dry Erase Pens - Cricut Explore

Chore Board Rules:

All 4 chores must be completed per day to get to 2 stones. If you act poorly a stone is taken away. Extra stones can be earned by doing the extra chores. Once the bucket is full then a reward can be chosen.

I am sure the rules will be tweaked over time.

Tips:

- If you live near a Home Depot have them cut all your pieces to size. You will save a lot of time - I wet sanded a few times in between coats of the Dry Erase Paint - I painted at least 6-8 coats of the Dry Erase

Please Note - I am not sure how the Dry Erase will hold up over time because this is the 1st time I am using their product

Source: - Font - Paint Buckets - Chore Board Graph

Do you have a chore board or something similar for your kids? Since every family is different I would love to hear what works in your house.

MAP FLOOR CLOTH -7.15.14

Hi guys, it's me, that girl katie, My husband and I have a camper van and it's taken 2 summers for us to dial out some of the kinks. Of course, he is more concerned about the mechanics of the van while I am all about the decor and making sure it's kid friendly. Last summer I had this idea for a map floor cloth. If it rains while we are camping the kids would have a fun place to play while we weather out the storm. My husband didn't think my idea would work which only pushed my desire to achieve my goal and prove him wrong. Oh, how I succeeded!

The map floor cloth adds a decorative element to our van while also entertaining our kids. They play on it as expected when it's raining but also when they need a sun break. They have enjoyed it so much that they often ask me to bring it inside our house when we aren't camping.

Here are my 9 steps:

It is teaching my kids map reading skills while they also learn about our town.

Supply List:

- linoleum - gesso or primer - paint colors - tape - projector - exacto knife - varnish

Have you ever made a floor cloth? How did it turn out?